![How to Fix YouTube There Was A Problem In The Server [400] Error?](https://www.hatauzmani.com/uploads/images/202403/image_380x226_65f1745c66570.jpg)


How to Fix Disney Plus Error Code 76?
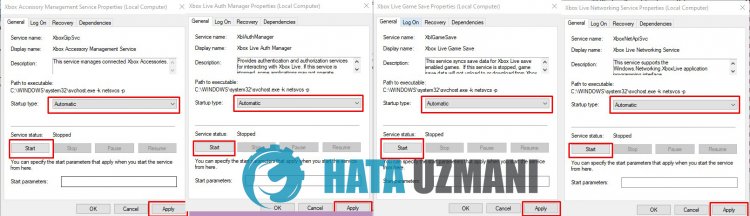
In this article, we will try to solve the "Error Code 76" problem that Disney Plus users encounter in the application.

Disney Plus users encounter the "Error Code 76" problem within the application and their access to the application is restricted. If you encounter suchaproblem, you can solve the problem by following the suggestions below.
What is Disney Plus Error Code 76 Problem?
This error may occur due to an internet problem or any problem in Microsoft services. For this purpose, we will give you information on how to fix this problem by giving youafew suggestions.
How to Fix Disney Plus Error Code 76 Problem?
To fix this error, you can solve the problem by following the suggestions below.
1-) Check Your Connection
Internet connection problems can cause many errors. If your internet connection is slow or disconnected, let us give youafew suggestions to fix it.
- If your internet speed slows down, turn your modem off and on again. This process will ease your internet connection to some extent.
- We can eliminate the problem by clearing the internet cache.
Clear DNS Cache
- Type cmd in the Start search screen and run as administrator.
- Type the followinglines of code on the command prompt screen and press enter.
- ipconfig /flushdns
- netsh int ipv4 reset
- netsh int ipv6 reset
- netsh winhttp reset proxy
- netsh winsock reset
- ipconfig /registerdns
- After this process, it will show that your DNS cache and proxies have been cleared successfully.
After this process, you can open the application by restarting the computer. If the problem persists, let's move on to our other suggestion.
2-) Turn Your Modem Off and On
Turn off your modem, wait 20 seconds and turn it on again. During this process, your IP address will change and various network problems will be prevented.
3-) Register Another Dns Server
We can eliminate the problem by registering another DNS server on the computer.
- Open Control Panel and select Network and Internet option
- On the screen that opens, open theNetwork and Sharing Center
- Click Change adapter settings on the left side.
- Right click on your Connection Type to open the Properties menu.
- Double-click Internet Protocol Version 4 (TCP /IPv4).
- Let's apply the settings by typing the Google Dns server we will give below.
- Preferred DNS server: 8.8.8.8
- Other DNS server: 8.8.4.4
- Then click on the Verify settings when exiting option, press the OK button and follow the steps.
After this process, restart the computer and run the Disney Plus application.
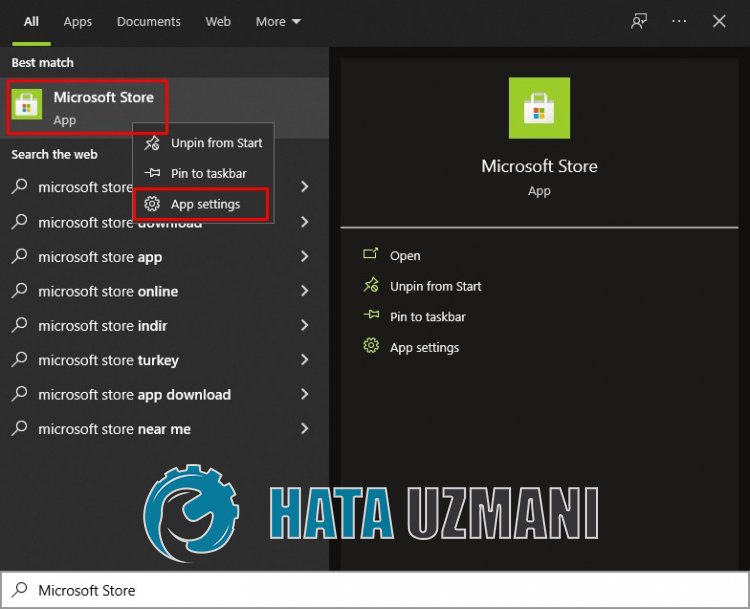
4-) Check XBOX Services
Disabling Xbox services may cause us to encounter such problems.
- In the Start search screen, type "Services" and open it.
- On the screen that opens, open the services we willlist below in order, set the startup type to "Automatic" and start the service status.
- Xbox Accessory Management Service
- Xbox Live Auth Manager
- Xbox Live Game Save
- Xbox Live Networking Service
After this process, you can check whether the problem persists by opening the Disney Plus application.
5-) Reset Microsoft Store
Various problems on
Microsoft Store may cause such an issue. For this, we can solve such problems by resetting theMicrosoft Store
- Type "Microsoft Store" in the Start search screen, right-click on it and click "Application Settings".
- Start the reset process by pressing the "Reset" button on the screen that opens.
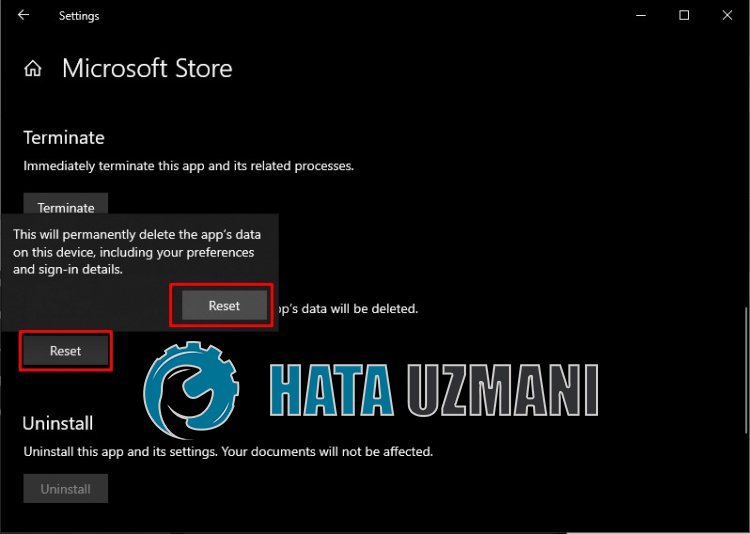
After this process, log in to the application and check whether the problem persists.
6-) Clear Disney Plus Cache
We can eliminate the problem by clearing the temporary cache of Disney Plus. To do this, you can clear the cache files by following the steps below.
- First, reach the Disney Plus page. Click to access the site.
- Right click on the page we reached and tap "Review".
- Click on the "Application" option in the opened panel.
- Then click on "Storage" on the left.
- After this process, scroll down the panel on the right and click on the "Clear Site Data" button.
After completing the process, you can check whether the problem persists by refreshing the page.