![How to Fix YouTube There Was A Problem In The Server [400] Error?](https://www.hatauzmani.com/uploads/images/202403/image_380x226_65f1745c66570.jpg)


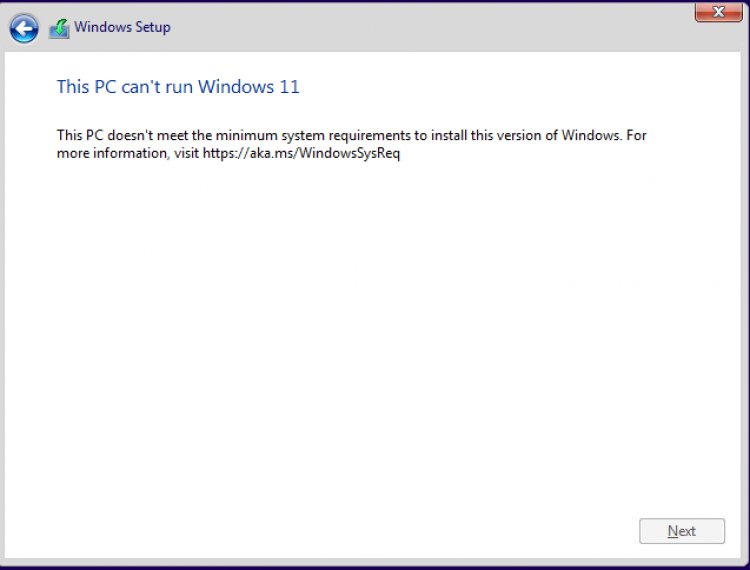
This PC Cannot Run Windows 11 Error Solution
The "This computer cannot run Windows 11" error that Windows users encounter when they want to install Windows 11 is encountered by many users.

While installing Windows users, the error "This computer cannot run Windows 11" rarely appears and prevents the installation of Windows 11. If you are encountering such an error, you can find the solution by following the steps below.
Why Do I Get the Error This PC Cannot Run Windows 11?
There are many reasons why we might get this error. These; It may be due to lack of ram,security boot,tpm. For this reason, this situation is very common in older computers. By following the suggestions we will show below, you will be able to install Windows 11 even if your computer is old.
How To Fix This PC Cannot Run Windows 11 Error
We can get rid of this error by following the suggestions below in order. For this;
1-) Open Command Prompt
In order to open the program we want, we will need to open the command prompt. For this;
- On the setup screen, we come to the operating system screen and press the Shift+F10 key.
After this process, a command prompt window will open. After the command prompt opens, let's move on to our next action.
2-) Open Regedit (Registry Editor)
First of all, as we said above, we opened the command prompt window to open the program we want. First we will need to open regedit, which will help us. For this;
- Type regedit in the command prompt window and press enter.
After this process, the regedit window will open. Follow the steps we will do in order;
- Open HKEY_LOCAL_MACHINE > SYSTEM > Setup folders respectively.
- While the Setup screen is selected, we right-click on an empty screen and click New > Key.
- We change the key name we created to LabConfig.
After this process, you will be automatically assigned to the LabConfig folder. Now let's move on to the other process;
- Right click on an empty screen in the LabConfig folder and click New > DWORD (32 Bit) Value.
- We change the name of the value we created to BypassRAMCheck.
After this process, we need to add a new value data. For this;
- Right click on an empty screen in the LabConfig folder and click New > DWORD (32 Bit) Value.
- We change the name of the value we created to BypassSecureBootCheck.
Again we will need to add another new value data. For this;
- Again, right-clicking on an empty screen in the LabConfig folder, click New > DWORD (32 Bit) Value.
- We change the name of the value we created to BypassTPMCheck.
We will need to change the data of the 3 values we created to "1". For this;
- We change the value data to 1 by double-clicking on the BypassRAMCheck, BypassSecureBootCheck and BypassTPMCheck data, respectively.
After this process, we can now perform the Windows 11 installation without any problems. By closing Regedit and the Command prompt window, we can access the operating system setup screen. You can continue the installation process by selecting the operating system you want on this screen.


