![How to Fix YouTube There Was A Problem In The Server [400] Error?](https://www.hatauzmani.com/uploads/images/202403/image_380x226_65f1745c66570.jpg)


How To Fix Zoom Error Code 5003
In this article, we will try to solve the "Error Code 5003" problem that Zoom users encounter in the program.

Zoom users' access to the session is restricted by encountering the "Error Code 5003" problem within the program. If you are facing such a problem, you can reach the solution by following the suggestions below.
What is Zoom Error Code 5003?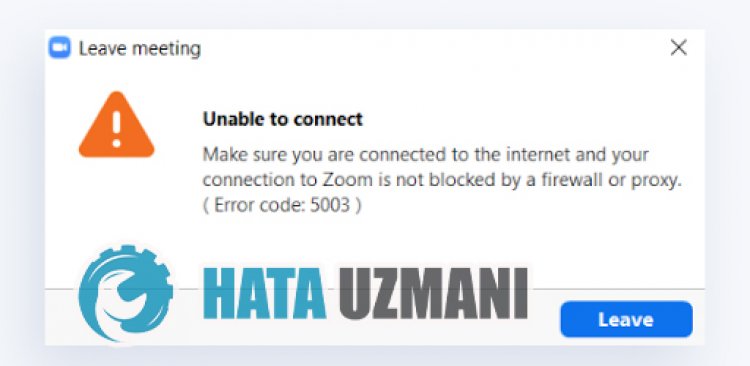
This error, which Zoom users encounter while trying to connect to the session, may occur due to the internet reason or the access block for security reasons. For this, we have given you information on how to solve such a problem by mentioning a few suggestions.
How To Fix Zoom Error Code 5003
In order to fix this error, you can reach the solution of the problem by following the suggestions below.
1-) Clear DNS Cache
We can solve the problem by clearing the DNS cache. For this;
- Type cmd on the start search screen and run it as an administrator.
- Type the following lines of code in order on the command prompt screen and press enter.
- ipconfig /flushdns
- netsh int ipv4 reset
- netsh int ipv6 reset
- netsh winhttp reset proxy
- netsh winsock reset
- ipconfig /registerdns
- After this process, it will show that your dns cache and proxies have been successfully cleared.
After this process, you can open the application by restarting the computer. If the problem persists, let's move on to another suggestion.
2-) Register Another DNS Server
If none of the above processes have happened, let's save another DNS server to our computer.
- Open the Control Panel.
- Select the Network and Internet option.
- On the screen that opens, open the Network and Sharing Center.
- Click on the "Change adapter settings" option on the left.
- Open the Properties menu by right-clicking on your Connection Type.
- Double-click Internet Protocol Version 4 (TCP /IPv4).
- Let's apply the settings by typing the Google DNS server that we will give below.
- Preferred DNS server: 8.8.8.8
- Other DNS server: 8.8.4.4
- Then click on the "Verify settings on exit" option and press the OK button and apply the procedures.
After this process, we can run the application by restarting the computer.
3-) Turn off Antivirus Program
Disable any antivirus program you use or delete it completely from your computer. If you are using Windows Defender, disable it. For this;
- In the start search screen, type "virus and threat protection" and open it.
- Then click on "Manage settings".
- Turn Real-time protection to "Off".
After this process, let's turn off other ransom file protection.
- Open the start search screen.
Open the search screen by typing "Windows security settings".
Click on the "Virus and Threat Protection" option on the screen that opens.
Click the Ransomware Protection option in the menu.
On the screen that opens, turn off the Controlled Folder Access.
After performing this operation, we will need to add the Zoom program files as an exception.
- In the start search screen, type "virus and threat protection" and open it.
- Select Manage settings under Virus and threat protection settings and then Add or remove exclusions under Exclusions .
- Select Add an exclusion and then select the Zoom program folder saved on your disk.
After this process, close the Zoom program completely with the help of a task manager and try to run the Zoom program again. If the problem persists, let's move on to our next suggestion.
4-) Check Zoom Servers
Any maintenance or problem in Zoom servers may cause us to encounter such problems. For this, you can confirm whether the problem is caused by the servers by checking the zoom server status developed by Zoom.


