![How to Fix YouTube There Was A Problem In The Server [400] Error?](https://www.hatauzmani.com/uploads/images/202403/image_380x226_65f1745c66570.jpg)


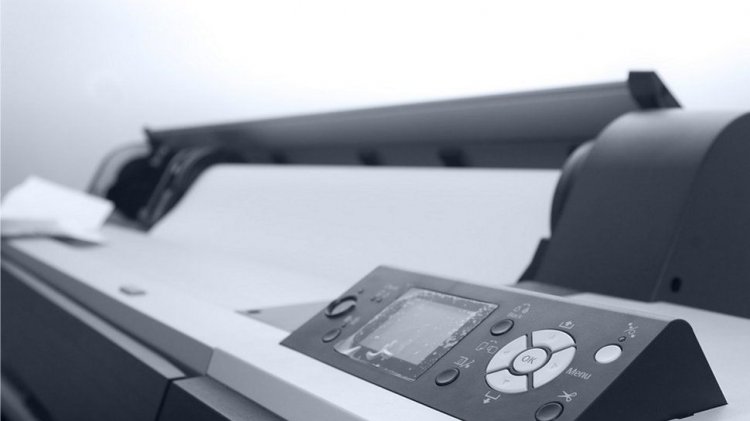
Printer Outputs Too Late Problem
The fact that Windows users are slow to print out the printer is impatient, and they want a quick action. However, although he cannot fully predict why he encountered such a problem, in this article he will find out why he received a late printout and will find a solution. If you are facing such a problem, this article will be a guide for you.
The problem that Windows users face, that the printer outputs too late, is giving a hard time for many users. If you are facing such a problem, you can reach the solution by following the suggestion below.
Why Is The Printer Delivering Outputs Late?
Generally, users who connect to the printer over IP encounter such a problem. If you are connecting with a USB port, you will rarely encounter such a problem. If you are connecting with a USB port and encountering such a problem, it is caused by your printer. For this, you can deal with the problems in the hardware by contacting the technical service. However, our problem in this article will be to provide a solution for users who receive printouts late while connecting to the printer via IP.
How To Fix The Printer Outputs Too Late?
The recommended port for people connecting to the printer over IP is as follows;
- Open the Start search screen by typing Control Panel.
- Click View Devices and Printers.
- Find your printer in the subheading of the Printers category and right-click on it.
- Click on Printer Properties in the listed menu.
- Open it by clicking the Ports option in the top menu.
After this process, the Ports will be listed below. If a port with WSD is marked on the port below, it is highly likely that you will encounter such a problem. For this we will need to completely uninstall and reinstall the printer device.
- We go back to the Devices and Printers screen.
- Right-click the printer to print from and click Uninstall device.
- Click on Add Printer on the top left.
- Click "The printer I want is not listed" on the scanned screen.
- On the screen we encounter, we select the "Add a printer using TCP/IP address or hostname" option and press the Next button.
- On the screen that opens, select the Device Type option, "TCP/IP Device", type the IP address of the printer in the "Hostname or IP address" section below, remove the ticked box below and press the Next button.
- On the screen that opens, select your device's brand and driver and press the Next button.
- On another screen that appears, specify the name of the printer and press the Next button.
After this process, your printer will be added to the device section again. We will no longer face this issue as we are now getting the connection from the IP address.