![How to Fix YouTube There Was A Problem In The Server [400] Error?](https://www.hatauzmani.com/uploads/images/202403/image_380x226_65f1745c66570.jpg)


Fix: Steam E502 L3 Error (2023)
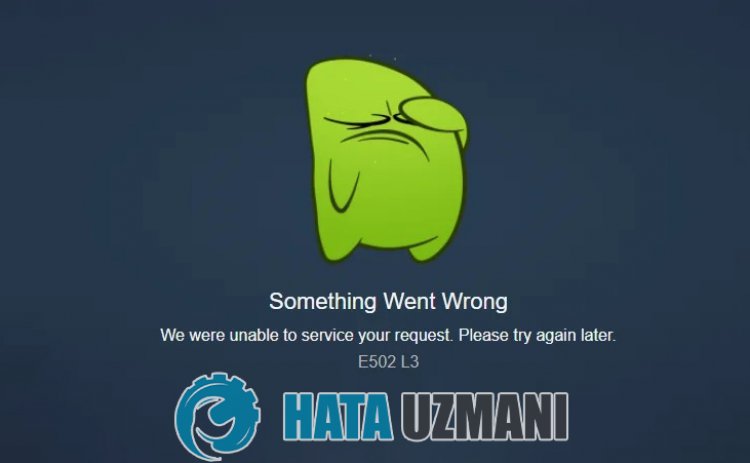
"We were unable to service your request. Please try again later." and then we will try to resolve the "E502 L3" error in this article.

Steam users are restricted from accessing the application by encountering the error "We were unable to service your request. Please try again later." and then "E502 L3" within the application. If you are facing suchaproblem, you can findasolution by following the suggestions below.
What is Steam E502 L3 Error?
Steam "E502 L3" error occurs due toaproblem with the application or internet cache.
Some damaged files loaded in the application cache will cause you to encounter possible errors within the program.
Also, it will give you this error in case of internet cache problem and restrict your access to the application.
For this, we will give you information on how to fix the problem by mentioningafew suggestions.
How To Fix Steam E502 L3 Error
To fix this error, you can find the solution to the problem by following the suggestions below.
1-) Restart the Program
Try to close the Steam program completely with the help ofatask manager and open it again.
This process will eliminate possible errors in the program and will help us to open it without any problems.
2-) Check Steam Service
Disabling the Steam service may cause us to encounter such errors.
Unable to control or disable the service may cause connection problems and restrict our access to the program.
We will need to check the service for this.
- In the start search screen, type "Services" and open it.
- Double-click the "Steam Client Service" service in the opened services menu.
- After this, set the "Startup Type" option to "Automatic". If the service status is "Stopped", start the service by clicking the start button below. After this process, let's save by clicking the "Apply" button.
After the process is completed successfully, you can run the Steam program to check if the problem persists.
3-) Clear Steam Cache
The problem with the Steam cache can cause us to encounter various errorslike this.
For this, we can solve the problem by clearing the Steam cache.
You can follow the steps below to clear the Steam cache.
- First of all, close the Steam application running in the background completely with the help ofatask manager.
- Type "%localappdata%" into the start search screen and open it.
- Delete the "Steam" folder in the new window that opens.
After performing this operation, run the Steam application as an administrator and check if the problem persists.
4-) Register Another DNS Server
We can eliminate the problem by registering another dns server on the computer.
- Open the Control Panel and select the option Network and Internet
- Open the Network and Sharing Center on the screen that opens.
- Click on Change adapter settings on the left.
- Right-click on your Connection Type to open the Properties menu.
- Double-click Internet Protocol Version 4 (TCP /IPv4).
- Let's apply the settings by typing the Google DNS server we will give below.
- Preferred DNS server: 8.8.8.8
- Other DNS server: 8.8.4.4
- Then click on Verify settings on exit and press the OK button and apply the actions.
After this process, let's move on to our other suggestion.
5-) Check Your Connection
The problem that occurs in the internet connection can cause many errors.
If your internet connection is slowing down or disconnected, let's giveafew suggestions to fix it.
- If your internet speed is slowing down, turn your modem off and then on again. This process will relieve your internet alittle bit.
- We can eliminate the problem by clearing the Internet cache.
Clear DNS Cache
- Type cmd in the start search screen and run as administrator.
- Type the followinglines of code in order on the command prompt screen and press enter.
- ipconfig /renew
- ipconfig /flushdns
- netsh int ipv4 reset
- netsh int ipv6 reset
- netsh winhttp reset proxy
- netsh winsock reset
- ipconfig /registerdns
- After this operation, it will show that your dns cache and proxies have been cleared successfully.
After this process, you can open the program by restarting the computer.
6-) Check Servers
Steam servers may be under maintenance or down. Although such situations are rare, we need to consider this situation.
You can check the Steam servers by accessing thelink below.