![How to Fix YouTube There Was A Problem In The Server [400] Error?](https://www.hatauzmani.com/uploads/images/202403/image_380x226_65f1745c66570.jpg)


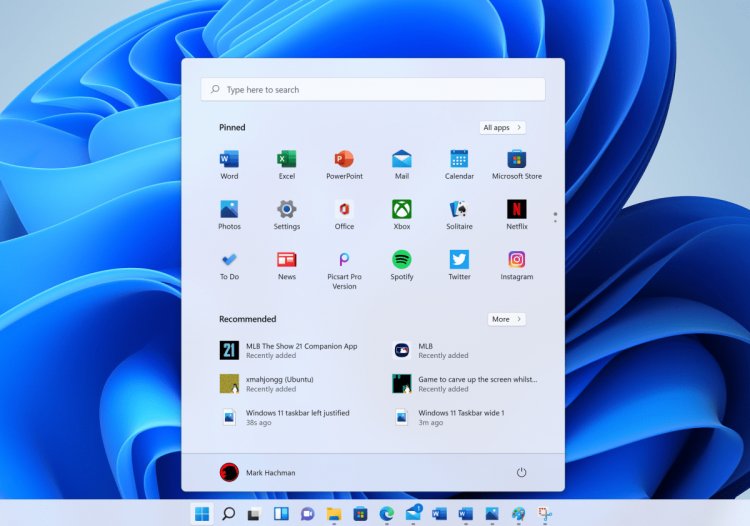
Windows 11 Start Menu Not Opening Problem
The problem that Windows 11 users encounter while trying to open the start menu occurs due to many problems, preventing its accessibility to the user.
The problem that Windows 11 users encounter when they want to run the start menu can occur due to many problems. If you are encountering such an error, you can solve the problem by performing the following steps.
What is the Windows 11 Start Menu Not Opening Problem?
Windows 11 users are faced with the "Start menu does not open" problem, but it cannot predict why exactly they encounter such an error. The main reason we encountered this problem is due to the fact that the installation was not clean with the transition of Windows 10 users to Windows 11. Failure to cleanly install Windows 11 can lead to many errors. But we will explain only one of these various errors in this article. If you are encountering such an error, you can solve the problem by performing the following steps.
How To Fix The Windows 11 Start Menu Won't Open?
In order to solve this error, we will try to solve the problem by telling you a few suggestions.
1-) Update Windows
If your Windows operating system is not up to date, we are likely to encounter such a problem. For this, try to update your Windows system and observe if the problem is solved.
2-) Repair Corrupted Files
We can get rid of this problem by repairing corrupted or damaged files on Windows 11.
- Open the run menu by pressing the Win+R key.
- Type cmd in the search screen and press enter.
- In the command prompt window that opens, enter the command sfc /scannow and press enter.
After this process, Windows will scan for missing or damaged files and perform the update process. Do not close the command prompt window before the process is complete.
3-) Check Disk Error
We may encounter such a problem due to disk error. For this we will need to check if your drive has a file system error.
- Open This PC.
- On the screen that opens, right-click the Local Disk (C:) disk and open the Properties option.
- Select the Tools menu.
- Press the Check button in the Error Check under the menu.
- Start the process by selecting the Scan Driver option from the warning that appears.
After this process, wait for the scan to finish. After the process is complete, you can check by restarting the computer.
4-) Restore Apps
We can fix this problem by installing unsigned Windows 11 applications using PowerShell.
- Open task manager.
- Click File>Run New Task.
- Type PowerShell in the search screen and tick the box below and press enter.
- Paste the code we left below on the screen that opens and press enter.
- Get-appxpackage -all shellexperience packagetype bundle |% {add-appxpackage -register -disabledevelopmentmode ($_.installlocation +”\appxmetADATA\appxbundlemanifest.xml”)}
This process may take some time. Never close the PowerShell application while the process is in progress. After the process is complete, restart your computer and check if the problem persists.


