How To Fix Dirt Rally Connection Failed Error?
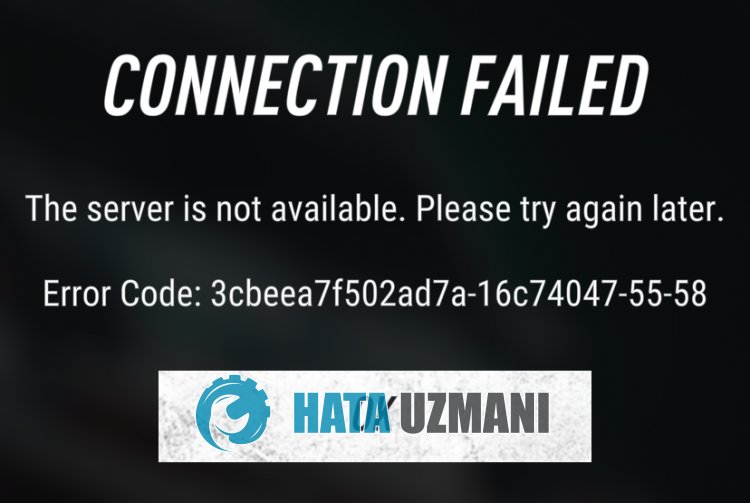
Dirt Rally players encounter "Connection Failed. The Server Is Not Available. Please Try Again Later." We will try to resolve the error in this article.
Dirt Rally players encounter the error "Connection Failed. The Server Is Not Available. Please Try Again Later." when they want to connect online, and online connection access is restricted. If you are facing suchaproblem, you can findasolution by following the suggestions below.
What is Dirt Rally Connection Failed?
 /p>
/p>
The error "Connection Failed" followed by "The Server Is Not Available" usually occurs when the server is under maintenance.
Of course, we may encounter such an error not only because of this problem, but also because of many other problems.
For this, we will try to solve the problem by telling youafew suggestions.
How To Fix Dirt Rally Connection Failed Error
To fix this error, you can find the solution to the problem by following the suggestions below.
1-) Check Servers
Maintenance or busyness of the servers may cause us to encounter various online connection errorslike this.
Therefore, we may need to check the servers and observe what is causing the problem.
You can find thelink below to check the Dirt Rally server status.
Follow Official Dirt Rally Twitter
Follow the Official EA Sports Twitter Account
If you don't see any tweets about maintenance work or server congestion, you can check the suggestions below.
2-) Register Another DNS Server
We can eliminate the problem by registering another dns server on the computer.
- Open Control Panel and select Network and Internet
- Open Network and Sharing Center on the screen that opens.
- Click on Change adapter settings on the left.
- Right-click on your Connection Type to open the Properties menu.
- Double-click Internet Protocol Version 4 (TCP /IPv4).
- Let's apply the settings by typing the Google DNS server we will give below.
- Preferred DNS server: 8.8.8.8
- Other DNS server: 8.8.4.4
- Then click on Verify settings on exit and press OK button to perform the actions.
After this process, let's move on to the other suggestion.
3-) Check Your Connection
The problem with the internet connection can cause many errors. If your internet connection is slowing down or disconnected, let's giveafew suggestions to fix it.
- If your internet speed is slowing down, turn your modem off and then on again. This process will relieve your internet alittle bit.
- We can eliminate the problem by clearing the Internet cache.
Clear DNS Cache
- Type "cmd" in the start search screen and run it as administrator.
- Command prompt screen by typing the followinglines of code one after the other and press enter.
- ipconfig /flushdns
- ipconfig /renew
- netsh int ipv4 reset
- netsh int ipv6 reset
- netsh winhttp reset proxy
- netsh winsock reset
- ipconfig /registerdns
- After this operation, it will show that your dns cache and proxies have been cleared successfully.
After this process, restart the computer and check if the problem persists. If the problem persists, let's move on to another suggestion.
4-) Power Off Your Modem
Turn off your modem, wait 20 seconds and turn it back on. During this process, your ip address will change and will prevent various network problems.
Yes, friends, we have solved our problem under this title. If your problem persists, you can ask about the errors you encounter by entering our FORUM platform.
![How to Fix YouTube There Was A Problem In The Server [400] Error?](https://www.hatauzmani.com/uploads/images/202403/image_380x226_65f1745c66570.jpg)


