![How to Fix YouTube There Was A Problem In The Server [400] Error?](https://www.hatauzmani.com/uploads/images/202403/image_380x226_65f1745c66570.jpg)


How To Fix Battle.net BLZBNTAGT00000840 Error?
In this article, we will try to resolve the "Something went wrong with a file. BLZBNTAGT00000840" error that Battle.net users encounter in the application.
Battle.net users, within the app "Something went wrong withafile. We're not sure what caused it, so please try again or click the code below for more information. Sorry about that! BLZBNTAGT00000840" is encountering the error, restricting access to the program. If you are facing suchaproblem and you have no idea what to do, you can reach the solution by following the suggestions we will leave below.
What is Battle.net BLZBNTAGT00000840 Error?
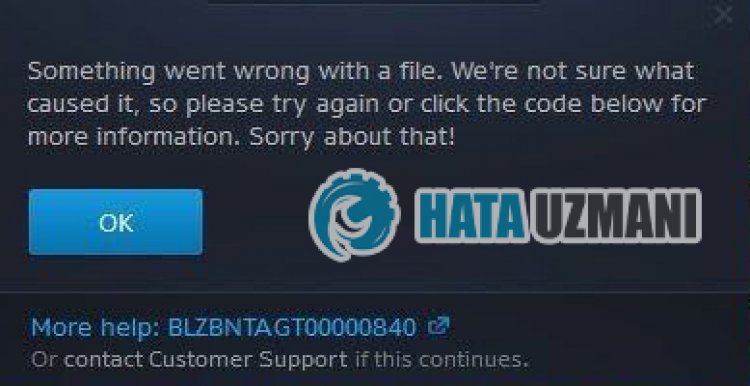 /p> "Something went wrong withafile. We're not sure what caused it, so please try again or click the code below for more information. Sorry about that! BLZBNTAGT00000840
How To Fix Battle.net BLZBNTAGT00000840 Error
To fix this error, you can find the solution to the problem by following the suggestions below.
1-) Check Servers
Application developers' maintenance of the application may cause such problems. For this, we can understand what is causing the problem by checking the servers. Of course, not only due to the maintenance of the application, but also the crash of the servers may cause us to encounter this problem.
We can monitor Battle.net servers using the DownDetector site to control them.
Check Servers from DownDetector Status Page.
We can check the servers by accessing thelink we left above. You can see server or other maintenance by checking the Twitter page where Battle.net developers are currently sharing so that we can instantly check the maintenance of the servers.
Check Blizzard Twitter Official Account.
2-) Restart Your Modem
Refresh your internet by turning your modem device off and on again. After the modem restarts, close and reopen the Battle.net application completely and check if the problem persists.
3-) Verify File Integrity of Game
Damage to the game file can cause you to encounter various errorslike this. For this, we can eliminate the problem by verifying the game files.
- Run the Battle.Net application.
- Click on "Games" at the top of the app.
- Click on the game you want to open.
- Click the gear icon next to the "Play" button on the screen that opens.
- After this process, click "Scan and Repair" to start the verification process.
After this process, you can try to open the game you want to run and check if the problem persists.
4-) Check Your Connection
The problem with the internet connection can cause many errors. If your internet connection is slowing down or disconnected, let's giveafew suggestions to fix it.
- If your internet speed is slowing down, turn your modem off and then on again. This process will relieve your internet alittle bit.
- We can eliminate the problem by clearing the Internet cache.
Clear DNS Cache
- Type "cmd" in the start search screen and run it as administrator.
- Command prompt screen by typing the followinglines of code one after the other and press enter.
- ipconfig /flushdns
- netsh int ipv4 reset
- netsh int ipv6 reset
- netsh winhttp reset proxy
- netsh winsock reset
- ipconfig /release
- ipconfig /renew
- ipconfig /registerdns
- netsh interface tcp reset
- netsh int ip reset
- netsh int tcp set global autotuninglevel=normal
- After this operation, it will show that your dns cache and proxies have been cleared successfully.
After this process, restart the computer and run the Battle.net program and check if the problem persists. If the problem persists, let's move on to another suggestion.
5-) Clear Battle.net Cache
The problem with the Battle.net cache can cause many errors. For this, we can check if the problem persists by clearing the cache files.
- Type "Run" into the start search screen and open it.
- Type "C:\ProgramData\" on the screen that opens and press enter.
- Delete the "Battle.net" and "Blizzard Entertainment" folders on the new window screen.
After performing this operation, run Battle.net as an administrator and check if the problem persists.
6-) MakeaVPN Connection
We can eliminate the problem by performingaproxy connection with the help of any vpn program. I can recommend you to use UrbanVPN program to realize VPN connection.
- First of all, let's close the Battle.net program running in the background completely with the help ofatask manager.
- Run UrbanVPN or any VPN program.
- Then perform the connection by selecting any country.
After the connection process is complete, you can run Battle.net and check if the problem persists.
7-) Run as Administrator
The application's failure to run with administrator rights may cause us to encounter various errorslike this. For this, close the Battle.net program completely and run it as an administrator and check if the problem persists.
8-) Turn off Antivirus Program
Disable any antivirus program you use, or delete it completely from your computer. If you are using Windows Defender, disable it. For this;
- Open the start search screen.
- Open the search screen by typing "Windows security settings".
- Click on "Virus and Threat Protection" on the screen that opens.
- Click on "Ransomware Protection" in the menu.
- Turn off "Controlled Folder Access" on the screen that opens.
After this, let's turn off real-time protection.
- Type "virus and threat protection" into the start search screen and open it.
- Then click on "Manage settings".
- Turn Real-time protection to "Off".
After performing this operation, we will need to add the Battle.net folder as an exception.
- Type "virus and threat protection" into the start search screen and open it. Under
- Virus and threat protection settings, select Manage settings, and then under Exclusions Exclude select add or remove.
- Select Add an exclusion, and then select the Battle.net folder saved to your disk.
After this process, run Battle.net and check if the problem persists.
Yes, friends, we have solved our problem under this title. If your problem persists, you can ask about the errors you encounter by entering our FORUM platform.


